लंबी पढ़त
Create a Studio Ghibli Inspired 3D Paper Shadowbox
Crafting three-dimensional paper art is a rewarding way to bring depth and storytelling to a flat medium. This project, heavily influenced by the enchanting aesthetics of Studio Ghibli, transforms simple cardstock into a layered forest scene. Even if you have never attempted 3D paper modeling before, this guide provides a structured entry point. Using a combination of precisely cut layers and internal spacers, you can build a miniature world that feels alive with detail and shadow.
Sebastian Fairchild
रचनाकार
चखने से पहले
नीचे पूरी रचना पढ़ें।
परोसा गया
पत्रिका
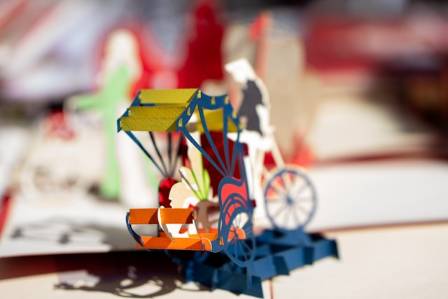
Crafting three-dimensional paper art is a rewarding way to bring depth and storytelling to a flat medium. This project, heavily influenced by the enchanting aesthetics of Studio Ghibli, transforms simple cardstock into a layered forest scene. Even if you have never attempted 3D paper modeling before, this guide provides a structured entry point. Using a combination of precisely cut layers and internal spacers, you can build a miniature world that feels alive with detail and shadow.
One of the unique aspects of this specific build is the commitment to sustainability; the entire structure can be constructed using leftover paper scraps and small fragments of cardstock. While new, full-sized sheets are certainly an option, utilizing offcuts adds a unique variety of textures and tones to the final piece.
Essential Tools and Materials
To complete this shadowbox, you will need a selection of cardstock in varying shades to create a sense of depth. For the assembly and detailing, ensure you have a sharp pencil, a pair of scissors, and a precision craft knife (such as an X-acto knife). A ruler is necessary for measuring the spacers, and high-quality craft glue will secure the layers together.
The foundation of the project relies on consistent sizing. You must first decide how many levels your art will feature. A six-layer configuration provides a professional level of depth. Once determined, cut all your base sheets to identical dimensions—for instance, 12-inch by 12-inch squares—to ensure they align perfectly during the final framing process.
Constructing the Concentric Layers
The 3D effect is achieved by cutting progressively smaller openings into each sheet of paper. Starting with the front-most layer, trace a large, organic circular pattern with a pencil, leaving at least an inch of border around the edges. Carefully remove the center with your craft knife. Place the second sheet beneath the first and trace a slightly smaller opening based on the visible area.
Repeat this systematic process through the fifth layer, ensuring each subsequent cutout is smaller than the last to create a "tunnel" effect. The sixth and final layer remains solid, acting as the background for the entire scene. This graduated scaling is what generates the illusion of looking deep into a forest or a cave.
Creating 3D Separation Strips
To create physical space between the layers, you will need to manufacture custom paper spacers. Cut several strips of paper approximately 3 cm wide and slightly shorter than the length of your base sheets. Fold each strip lengthwise twice to create three equal sections, then bend them at 90-degree angles to form a rigid "U" or "Z" shape.
These strips act as internal scaffolding. Apply glue to one side of a strip and attach it to the perimeter of the back of a paper layer. You will need four strips per level. Once the spacers are attached to the first five layers, stack them one by one, gluing the exposed side of the spacer to the front of the next sheet. This creates a sturdy, multi-tiered structure with consistent gaps between each color.
Detailing the Foliage and Scenery
The character of the shadowbox comes from the small details added to each level. Using the paper fragments removed during the initial cutout phase, draw and cut out various shapes of vines, leaves, and small plants. Group these by color so they match the layer they originated from, which maintains a clean, monochromatic look for each level of depth.
Carefully glue these plant cutouts onto the corresponding layers. For added texture, you can fold symmetrical plant shapes in half to create "grass" that stands out from the surface. Continue adding these elements until the scene feels lush and balanced. The goal is to create a sense of organic growth that leads the eye toward the center of the piece.
Final Character Integration and Framing
To give the artwork a narrative focal point, a hand-painted character can be added to the very back. For a Ghibli-themed piece, a figure like "No Face" fits perfectly within the dark, central depths. Paint the character on a small piece of art paper and glue it directly onto the sixth (bottom) layer. This small addition provides a "soul" to the landscape and completes the visual journey.
The final step is to build a protective enclosure. Measure the total height of your stacked layers and construct a simple cardstock box of the same dimensions. Slide the 3D assembly into the box for a snug fit. You can cover the exterior borders with a final frame of colored craft paper to hide the edges of the layers. The result is a professional-looking shadowbox that captures a quiet, magical moment in paper.
अगला स्वाद

दर्शनीय समुद्री गांवों की 4 खूबसूरत जगहें जो आपको जरूर देखनी चाहिए
आकर्षक समुद्री गांव अक्सर विदेश यात्रा के छुपे हुए रत्न होते हैं। उनके छोटे और चित्रमय बंदरगाह या खाड़ी आधुनिकता और लोकप्रिय बंदरगाहों के आकार से ताजगी से भरी एक विपरीत छवि पेश करते हैं। कुछ बेहतरीन गांव आकर्षक और अक्सर अनछुए समुद्र तटों पर स्थित होते हैं। यहां कुछ सबसे अद्भुत समुद्री गांवों की सूची दी गई है।

7 Date Outfit Ideas That Work for Every Stage of Romance
Picking what to wear for a date can feel like a style puzzle. You want to look good, stay comfortable, and let your personality shine without overthinking every detail. The right outfit helps you walk into the room feeling confident, no matter if it’s your first meeting or a night out with a long-term partner. Here are seven outfit approaches to keep you stylish at every step of dating.
" WHIMSICAL WONDERS: CHOOSING THE PERFECT WALL ART FOR YOUR LITTLE ONE'S HAVEN"
Discover wonders on quirky walls, where imagination runs wild in a riot of vibrant expressions.
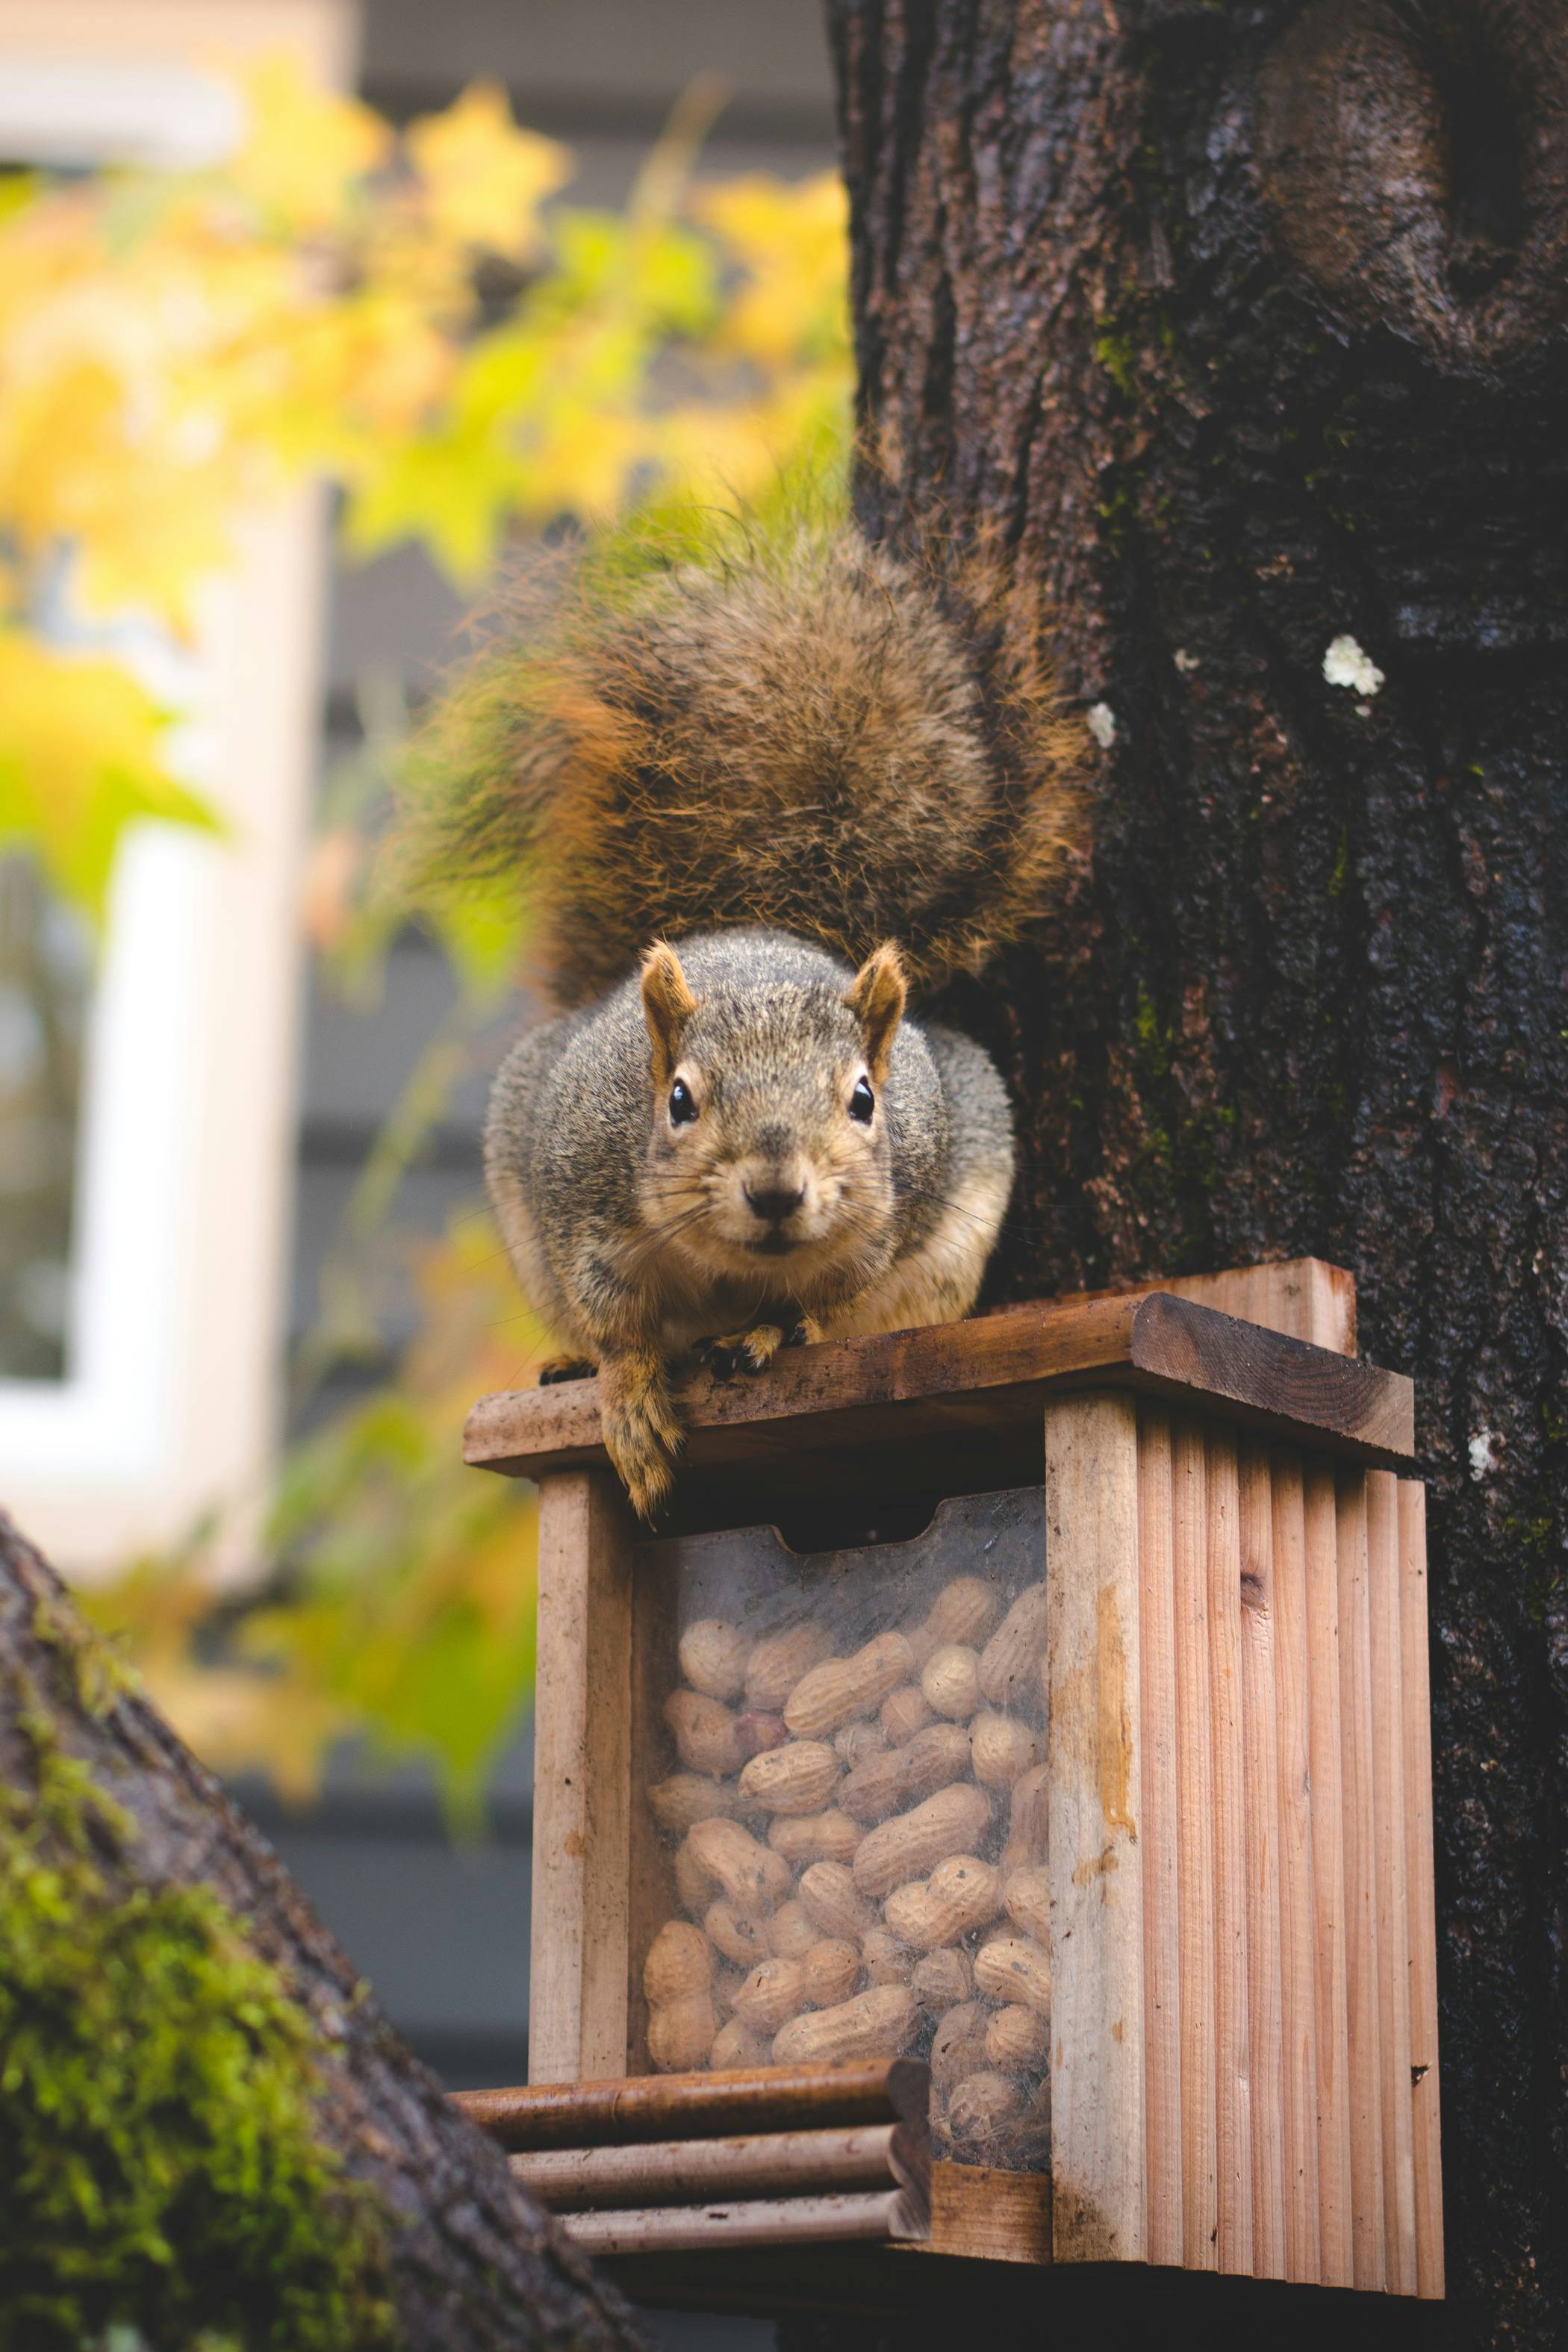
गिलहरी क्या खाती हैं? अपने गिलहरी फीडर में आजमाने के लिए 5 खाद्य पदार्थ
क्या आपने कभी अपने बैकयार्ड में जंगली गिलहरियों को खिलाने की इच्छा की है, लेकिन यह सुनिश्चित नहीं थे कि उन्हें क्या खिलाएं? या, शायद आपने स्टोर पर एक गिलहरी फीडर देखा हो और सोचा हो कि उसमें किस तरह का खाना डालें? किसी भी तरह से, यह समझना मुश्किल हो सकता है कि गिलहरियों को किस तरह का खाना पसंद है। इस पोस्ट में, हम चर्चा करेंगे कि गिलहरियां क्या खाती हैं और आपको अपने गिलहरी फीडर के लिए कौन से खाद्य पदार्थों पर विचार करना चाहिए। हम यह भी बताएंगे कि गिलहरियों को अपने फीडर की ओर आकर्षित करने के लिए कुछ टिप्स, ताकि आप उन्हें अपने बैकयार्ड में देखने का आनंद ले सकें। चाहे आप अपनी गिलहरियों को कुछ स्वादिष्ट या पौष्टिक खिलाना चाहते हों, यह गाइड आपको अपने बैकयार्ड के आगंतुकों के लिए सही खाना खोजने में जरूर मदद करेगा।
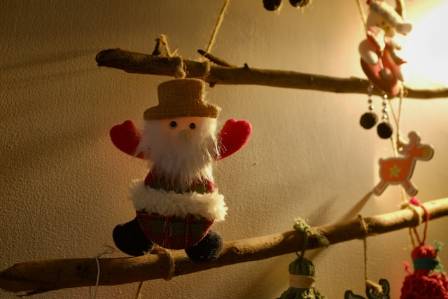
7 Santa Claus Secrets You Never Knew
Santa Claus is the heart and soul of Christmas—synonymous with twinkling lights, wrapped gifts, and the magic of the season. We all know his iconic red suit, fluffy white beard, and the tradition of leaving milk and cookies for him on Christmas Eve. But beyond the well-loved stories and rituals, Santa harbors a handful of surprising secrets that even the biggest believers might not know. From his hidden habits to unexpected adventures, these 7 little-known facts will add a whole new layer of charm to the man in red.
Exploring the Enigmatic Depths: Drach Caves in Mallorca
The Drach Caves, a remarkable system of four expansive caverns in Mallorca, beckon adventurers to unearth the mysteries concealed beneath the earth's surface. These subterranean wonders are not merely a sight to behold; they are a journey through time, believed to have emerged during the Miocene Epoch, spanning a staggering 23 to 5 million years ago.